
How To Start Engine After Head Gasket Repair? 9 Steps
After performing a head gasket repair on your vehicle, starting the engine can be a moment filled with anticipation and a bit of anxiety. So, How To Start Engine After Head Gasket Repair? is a crucial step that requires careful attention. The process involves several key steps to ensure the longevity and efficiency of your engine post-repair.
Key Takeaways
- Preparation: Before attempting to start the engine, ensure all repair work is completed, and the engine is properly assembled.
- Fluid Check: Verify that all necessary fluids are at the correct levels.
- Initial Inspection: Conduct a thorough inspection for any leaks or loose connections.
- Starting Procedure: Follow a specific starting procedure to avoid potential damage.
- Monitoring: Closely monitor the engine during and after the first start for any signs of issues.
How To Start Engine After Head Gasket Repair?
Starting an engine after a head gasket repair involves a series of meticulous steps. Each step is critical to ensure the engine runs smoothly and to avoid any potential damage. Here’s a detailed explanation of the process:
- Final Inspection Before Engine Start:
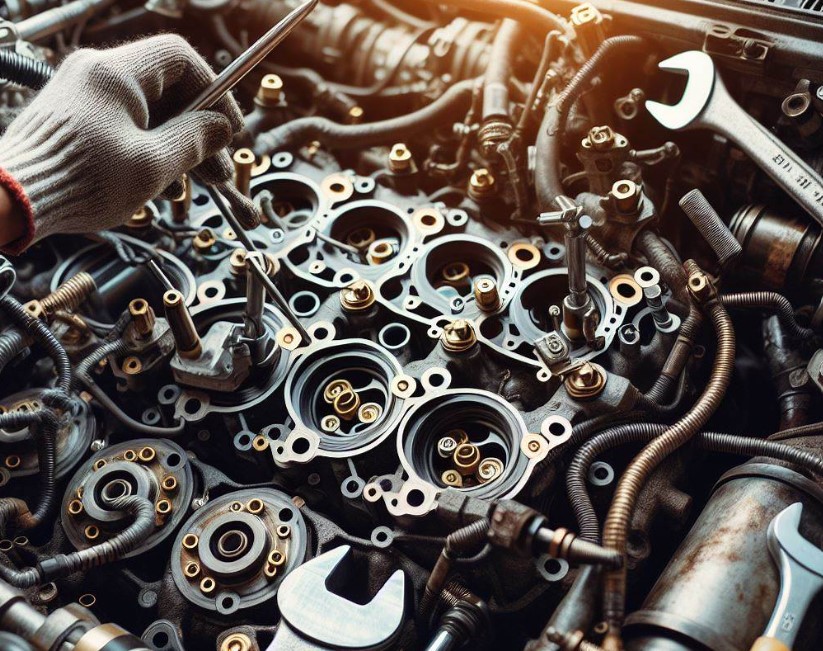
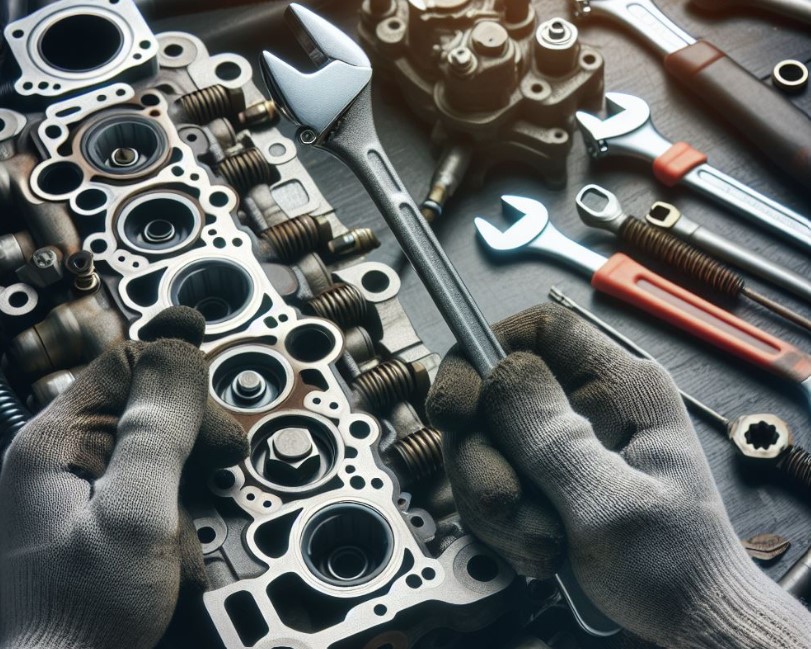
- Check Installation: Verify that the head gasket has been installed correctly. Ensure all bolts are torqued to the manufacturer’s specifications.
- Reconnect Components: Ensure all removed components during the repair, such as the exhaust manifold, intake manifold, and various sensors, are properly reconnected.
- Inspect for Loose Wires or Hoses: Double-check that all electrical connections and hoses are secure.
- Check and Refill Fluids:
- Engine Oil: The oil may have been contaminated during the gasket failure, so it’s often recommended to change the oil and filter.
- Coolant: Refill the cooling system with the appropriate type of coolant. Make sure to properly bleed the system to remove any air pockets, as these can cause overheating.
- Prime the Oil System (If Necessary):
- For some engines, particularly those that have been extensively repaired or rebuilt, it may be necessary to prime the oil system. This process involves circulating oil through the engine before starting to ensure adequate lubrication.
- Battery Check:
- Ensure Battery Health: The vehicle may have been sitting idle for a while during the repair. Make sure the battery is fully charged.
- Starting the Engine:
- Initial Crank: Turn the key to the start position and let the engine crank. It may take a few seconds longer than usual as the fuel system repressurizes.
- Idle Monitoring: Once the engine starts, let it idle without revving. Monitor the engine closely during this period.
- Check for Leaks: Look for signs of oil or coolant leaks around the engine, particularly around the head gasket area.
- Monitor Engine Parameters:
- Temperature Gauge: Keep an eye on the temperature gauge to ensure the engine doesn’t overheat.
- Oil Pressure: Monitor the oil pressure gauge or light to ensure adequate oil pressure.
- Listen for Unusual Noises: Be alert to any strange noises from the engine, which could indicate a problem.
- Post-Start Inspection:
- Check Fluid Levels Again: After the engine has run for a few minutes, turn it off and recheck the oil and coolant levels.
- Inspect for Leaks Again: Do a second round of leak inspection to ensure there are no delayed leaks.
- Test Drive:
- Gentle Driving: Take the car for a gentle test drive to ensure everything is working correctly.
- Monitor Performance: Pay attention to the engine’s performance, listen for any unusual sounds, and keep an eye on the temperature gauge.
- Post-Drive Inspection:
- Cool Down and Recheck: After the test drive, allow the engine to cool and then perform a final inspection of fluid levels and check for any leaks.
Following these steps diligently after a head gasket repair is crucial for the health and longevity of the engine. If any issues arise during this process, it’s advisable to consult with a professional mechanic to address them promptly.
Pre-Start Checks
Before turning the ignition key, it’s vital to perform a series of pre-start checks. This involves ensuring that all components are correctly reassembled and secured. Checking the engine oil level and coolant is crucial. These fluids play a significant role in the engine’s performance, especially after a major repair.
Engine Oil and Coolant Levels
- Engine Oil: Verify the oil level on the dipstick. Ensure it’s within the recommended range.
- Coolant: Check the coolant level in the reservoir and radiator. After a head gasket repair, this is particularly important to prevent overheating.
Starting Procedure
Once the pre-start checks are complete, it’s time to initiate the starting procedure. This step should be approached with care, as improper starting can cause damage.

Initial Engine Crank
- Battery Connection: Ensure the battery is properly connected and charged.
- Cranking: Turn the ignition key to crank the engine. Do not accelerate during this process.
Post-Start Checks
After the engine has started, conducting post-start checks is essential. These checks help in identifying any immediate issues that need attention.
Monitoring Engine Performance
- Listen: Pay attention to any unusual noises from the engine.
- Observe: Look for signs of leaks or smoke, which could indicate a problem.
Troubleshooting Common Issues
After a head gasket repair, certain issues might arise when starting the engine. Being prepared to troubleshoot these problems is vital.
Addressing Leaks and Noises
- Leaks: Check for any oil or coolant leaks around the engine.
- Noises: Investigate any abnormal sounds coming from the engine.
Why Won’t My Car Start After Replacing Head Gasket?
After replacing a head gasket, if your car won’t start, several factors could be at play. The most common reasons include improper installation of the head gasket, which can lead to issues like incorrect alignment, inadequate sealing, or damage to the gasket during installation.
Other factors could be related to electrical connections, such as sensors or wiring harnesses, that might have been disconnected during the repair and not properly reconnected.
Additionally, issues with the ignition system, fuel system, or engine compression can also prevent the car from starting. Ensuring that all components are correctly installed and connected, and performing a thorough diagnostic check, can help identify and rectify the problem.
What To Do After Head Gasket Replacement?
Post head gasket replacement, there are several important steps to ensure your car runs smoothly:
- Check Fluids: Ensure that the engine oil and coolant are filled to the correct levels.
- Inspect for Leaks: Check around the engine for any signs of oil or coolant leaks.
- Bleed the Cooling System: This removes air pockets that can cause overheating.
- Check Engine Timing: If the repair involves removing the timing belt or chain, verify that the engine timing is set correctly.
- Initial Start-Up: Start the engine and let it idle, checking for any unusual noises or behaviors.
- Monitor Engine Temperature: Keep an eye on the temperature gauge to ensure the engine is not overheating.
- Test Drive: After the initial checks, take the car for a short test drive to monitor its performance under various conditions.
Will A Car Start After A Blown Head Gasket?
A car may still start with a blown head gasket, but it is not advisable to run the engine in this condition. A blown head gasket can lead to a range of problems, including coolant entering the combustion chamber, leading to white smoke from the exhaust, and engine overheating.

In severe cases, it can lead to engine misfires, reduced power, and potentially severe engine damage. If a car starts with a blown head gasket, it should be shut down immediately to prevent further damage and repaired as soon as possible.
How Do You Flush Coolant After Head Gasket Replacement?
Flushing the coolant after a head gasket replacement is a critical step. Here’s how to do it:
- Drain the Old Coolant: Remove the radiator cap and open the drain valve at the bottom of the radiator to let the old coolant flow out.
- Flush with Water: After draining, close the valve and fill the radiator with water, then run the engine with the heater on max for about 10 minutes.
- Drain Again: Turn off the engine and drain the water.
- Repeat if Necessary: Repeat the flush process until the water runs clear.
- Refill with New Coolant: Close the drain valve and fill the radiator with new coolant, ensuring it’s the correct type for your vehicle.
- Bleed Air from the System: Start the engine and let it run with the radiator cap off to allow air to escape. Monitor the coolant level and top up as necessary.
Conclusion
Successfully starting your engine after a head gasket repair is a combination of meticulous preparation, careful execution, and attentive monitoring. The process, while intricate, ensures the longevity and efficient performance of your engine.
Remember, how to start the engine after head gasket repair is not just about the initial ignition but also about maintaining vigilance for any signs of issues in the aftermath of the repair. Implementing these steps with precision and care will pave the way for a smooth and reliable engine start.
People Also Ask
Can a head gasket repair affect engine compression?
Yes, if not done properly, a head gasket repair can affect engine compression. Incorrect installation can lead to poor sealing and consequently low compression. A compression test can help diagnose this issue.
How soon after the repair should I check the coolant level?
Check the coolant level after the engine has cooled down post-initial startup. This is usually a few hours after the engine has been turned off.
Is it normal for the engine to smoke after a head gasket repair?
A small amount of smoke may be normal as residual oil burns off, but continuous or excessive smoke could indicate an issue, such as an oil leak or incomplete combustion.
What if the engine doesn’t start after the head gasket repair?
If the engine doesn’t start, check:
Electrical Connections: Ensure all sensors and ignition components are connected.
Fuel System: Verify fuel pump operation and fuel delivery.
Compression: Perform a compression test to check for potential issues with the repair.

Welcome to the exhilarating world of Matt Rex, a professional car racer turned renowned vehicle enthusiast. Immerse yourself in his captivating blog as he shares heart-pounding adventures, expert reviews, and valuable insights on cars, trucks, jets, and more. Fuel your passion for speed and discover the beauty of vehicles through Matt’s engaging stories and meticulous expertise. Join the ever-growing community of enthusiasts who find inspiration and expert advice in Matt Rex’s blog—a digital hub where the thrill of speed meets the pursuit of knowledge.
![Do You Bleed ABS Brakes With Engine Running? [Answered]](https://www.turbochaos.com/wp-content/uploads/2023/09/Do-You-Bleed-ABS-Brakes-With-Engine-Running.jpg)


