How To Remove Oil Pan Without Removing Engine? 10 Steps
Are you looking for How To Remove Oil Pan Without Removing Engine? When it comes to vehicle maintenance, the task of removing the oil pan without removing the engine is a procedure that might seem daunting at first. However, with the right tools and techniques, it’s a feasible task. This article aims to guide you through the steps involved in this process, ensuring you can complete the task efficiently and safely.
Key Takeaways
- Assess Space and Accessibility: Determine if there is enough space to remove the oil pan without moving the engine.
- Gather Necessary Tools: Ensure you have all the required tools and equipment.
- Drain the Oil: Safely and completely drain all oil from the pan.
- Remove Obstructions: Identify and remove any components obstructing the oil pan.
- Detach the Oil Pan: Carefully detach the oil pan from the engine.
- Seal and Replace: Properly seal and replace the oil pan to avoid leaks.
How To Remove Oil Pan Without Removing Engine?
Removing the oil pan without removing the engine can be complex, depending on the vehicle’s make and model. The following steps provide a general guide but always refer to the vehicle’s specific service manual for detailed instructions.

- Prepare Your Work Area:
- Ensure the vehicle is on a flat, stable surface.
- Use a jack to lift the vehicle and secure it with jack stands for safety.
- Put on safety glasses and gloves to protect yourself from oil and debris.
- Drain the Engine Oil:rong>
- Locate the oil drain plug at the bottom of the oil pan.
- Place a drain pan under the plug.
- Remove the plug and allow the oil to drain completely.
- Once drained, replace the drain plug.
- Remove Any Obstacles:
- Identify parts obstructing access to the oil pan, such as crossmembers, exhaust pipes, or skid plates.
- Carefully remove these parts, keeping track of all bolts and brackets for reassembly.
- Disconnect the Oil Pan:
- Locate all the bolts and screws that secure the oil pan to the engine block.
- Using a socket wrench, remove these bolts. Be mindful of any hidden bolts or screws.
- Carefully pry the oil pan away from the engine block. A putty knife can be used to break the sealant bond.
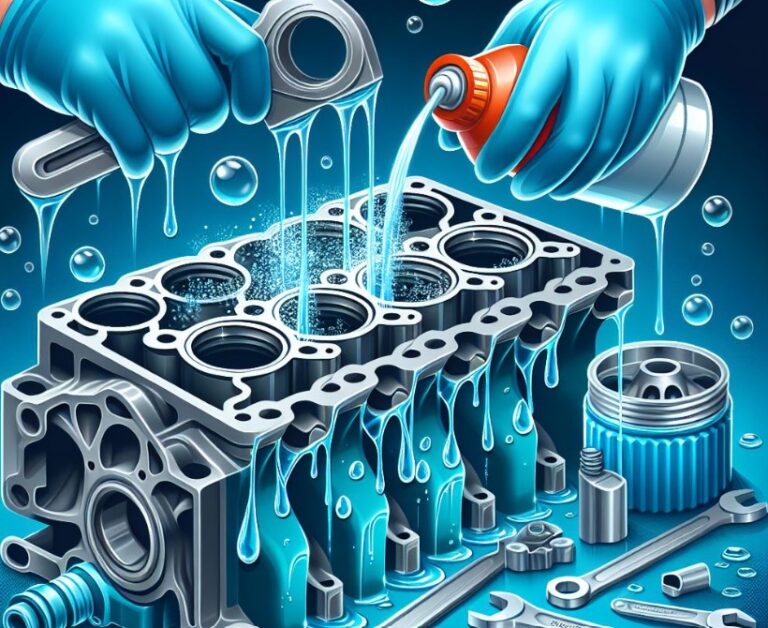
- Clean the Oil Pan and Engine Block:
- Remove old gasket material and sealant from the oil pan and the engine block’s mating surface. This step is crucial for ensuring a good seal upon reassembly.
- Inspect the oil pan for any damage or wear.
- Install a New Gasket:
- Place a new gasket onto the oil pan. Some vehicles may require a gasket sealant.
- Ensure the gasket is aligned correctly with all bolt holes.
- Reattach the Oil Pan:
- Carefully align and place the oil pan back onto the engine block.
- Hand-tighten the bolts in a crisscross pattern to ensure even pressure.
- Use a torque wrench to tighten the bolts to the manufacturer’s specified torque setting.
- Reinstall Any Removed Parts:
- Reattach any removed parts (exhaust, cross-members, etc.), ensuring they are securely fastened.
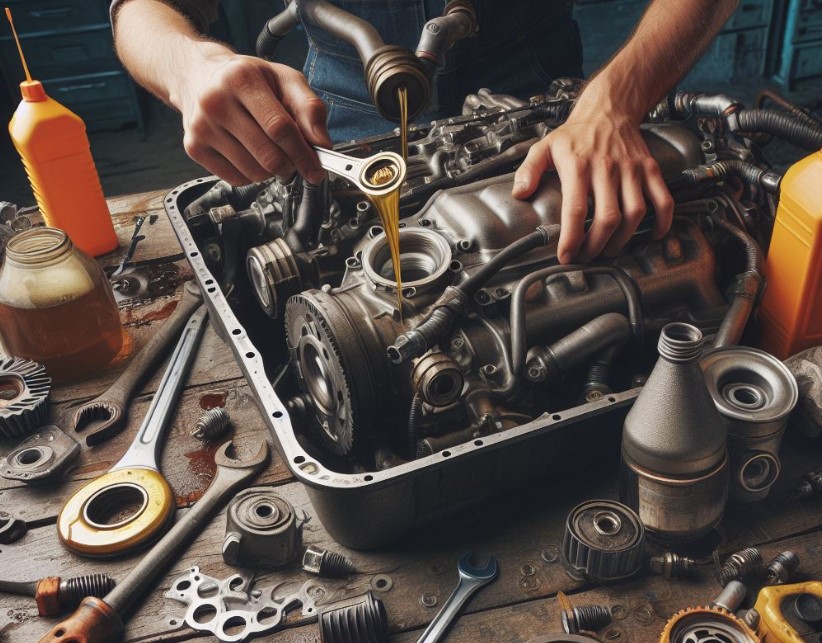
- Refill Engine Oil:>
- Lower the vehicle from the jack stands.
- Fill the engine with the correct type and amount of oil.
- Check for leaks by starting the engine and allowing it to run for a few minutes.
- Dispose of Old Oil Properly:
- Take the used oil to a recycling center or an auto shop that accepts used oil.
Remember, this guide is a general overview. Specific steps may vary based on your vehicle’s design. Consult a professional mechanic if you are unsure or uncomfortable with any of these steps. Safety should always be your top priority.
Assessing Space and Accessibility
Before starting, it’s crucial to determine if the oil pan can be removed without displacing the engine.
Understanding Your Vehicle’s Layout
Each vehicle has a unique design, and the amount of space available under the engine will vary. It’s essential to understand your vehicle’s specific layout to assess the feasibility of removing the oil pan.
Evaluating the Need for Additional Equipment
In some cases, you might need equipment like a car lift or jack stands to create more working space.
Gathering Necessary Tools and Equipment
Having the right tools at hand is crucial for this task.
Essential Tools
- A set of wrenches and sockets.
- A jack and jack stands, if necessary.
- A container for oil drainage.
- New oil pan gasket and sealant.
Safety Equipment
- Safety glasses.
- Gloves to protect your hands.
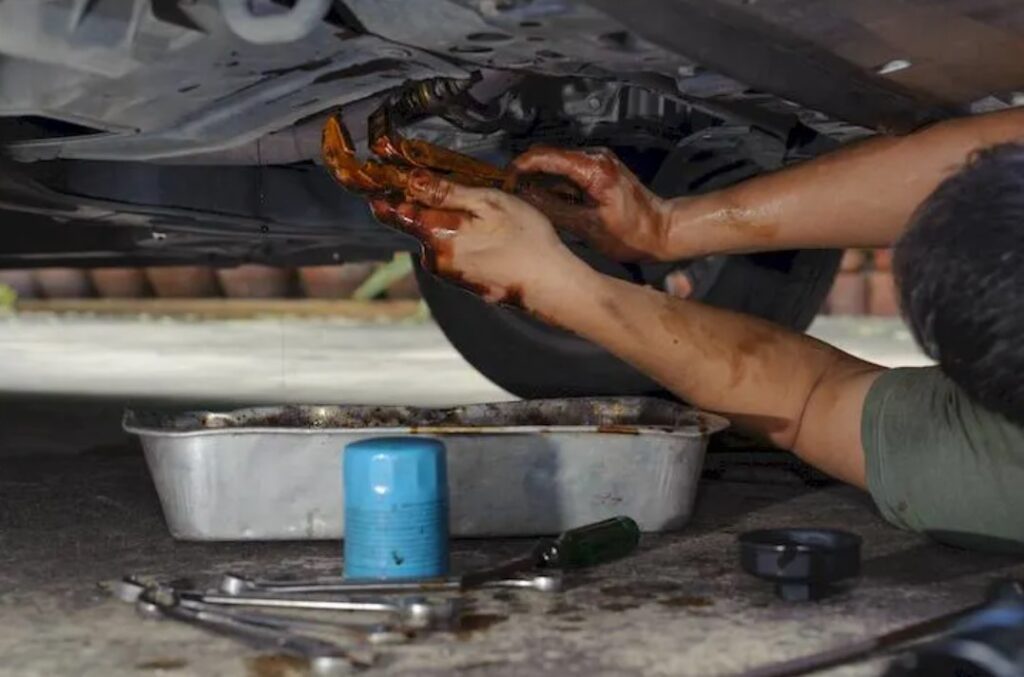
Draining the Oil
Before you can remove the oil pan, the existing oil in the engine must be drained.
Locating the Drain Plug
Find the drain plug at the bottom of the oil pan.
Proper Drainage Technique
Place a container underneath and unscrew the plug, allowing the oil to drain completely.
Removing Obstructions
There may be components that need to be moved or removed to access the oil pan.
Identifying Obstacles
Common obstructions include the exhaust pipe, crossmembers, or even the transmission in some models.
Careful Removal
Each component should be removed or repositioned with care to avoid damage.
Detaching the Oil Pan
Once the above steps are completed, you can start detaching the oil pan.
Removing Bolts and Screws
Unscrew all the bolts and screws securing the oil pan.
Gently Detach the Pan
Use a putty knife if necessary to break the seal and gently lower the pan.
Sealing and Replacing the Oil Pan
After cleaning, it’s time to replace the oil pan with a new gasket and sealant.
Applying Sealant and Gasket
Apply a thin layer of sealant and place the new gasket on the pan.
Reattaching the Oil Pan
Carefully place the pan back and tighten all the bolts uniformly.
Why You Need To Remove The Oil Pan?
Removing the oil pan is often necessary for several reasons. Primarily, it’s done to replace a damaged or worn-out oil pan gasket, which is a common source of oil leaks.
Oil leaks not only cause environmental harm but can also lead to engine damage due to low oil levels.
Additionally, removing the oil pan is required when there’s a need to clean sludge buildup inside the pan, inspect for internal engine damage, or during certain engine repairs where access is needed from the bottom of the engine.
Regular maintenance and inspection of the oil pan and gasket are crucial for the long-term health of your vehicle’s engine.
Is It Hard To Replace An Oil Pan?
The difficulty of replacing an oil pan can vary significantly based on the make and model of the vehicle. In some cars, the oil pan is easily accessible and can be removed with basic hand tools, making it a relatively straightforward DIY task.
However, in other vehicles, especially those with limited space around the engine block or with 4-wheel drive, replacing the oil pan can be more challenging.
It may require the removal of additional components such as the exhaust system or crossmembers. Experience in handling auto repairs, having the right tools, and following a detailed guide specific to your vehicle’s model are essential for a successful replacement.
How Do You Remove Buildup From An Oil Pan?
Removing buildup from an oil pan is crucial for maintaining engine health. Over time, oil can break down and leave deposits and sludge in the pan, which can impede the oil flow and affect engine performance. To clean it, first, remove the oil pan from the engine.
Then, use a degreaser or solvent specifically designed for automotive parts to dissolve and remove the buildup. It’s important to wear gloves and work in a well-ventilated area. After applying the degreaser, scrub the pan with a brush to remove stubborn deposits.
Finally, rinse the pan thoroughly with water and let it dry completely before reinstallation. Ensuring the oil pan is clean before putting it back is critical for the effective operation of the engine’s lubrication system.
Can You Replace Oil Pan Gasket Yourself?
Yes, you can replace an oil pan gasket yourself if you have basic mechanical skills and the necessary tools. It’s a relatively common DIY task among car enthusiasts.
The process involves draining the engine oil, removing the oil pan, cleaning the mating surfaces, and installing a new gasket. It’s crucial to follow the specific torque specifications for your vehicle when reattaching the oil pan to ensure a proper seal and prevent leaks.
However, if the oil pan is difficult to access or if you’re not confident in your ability to complete the task, it may be wise to seek professional assistance. Always refer to your vehicle’s service manual for detailed instructions tailored to your car’s make and model.

Conclusion
Successfully removing an oil pan without removing the engine requires patience, precision, and the right approach. By following these steps, you can accomplish this task effectively. Remember to always prioritize safety and double-check each step to ensure a job well done.
Frequently Asked Questions
What should I do if I encounter rusted bolts or screws?
For rusted bolts, use a penetrating oil to loosen them. Allow the oil to soak in for several hours if necessary. If a bolt is too damaged, it may need to be drilled out, which might require professional assistance.
How do I ensure the new oil pan gasket seals properly?
Clean the mating surfaces thoroughly, apply the right type of sealant (if required), place the new gasket carefully, and tighten the bolts in a crisscross pattern to the specified torque.
What are common mistakes to avoid when removing the oil pan?
Common mistakes include not draining all the oil, improper lifting of the vehicle, overtightening the bolts when reassembling and damaging the new gasket during installation.
Can I do this job alone, or do I need professional help?
If you have basic mechanical skills, you can do this job alone. However, if you’re unsure about any step or if the vehicle has complex components in the way, seeking professional help is advisable.

Welcome to the exhilarating world of Matt Rex, a professional car racer turned renowned vehicle enthusiast. Immerse yourself in his captivating blog as he shares heart-pounding adventures, expert reviews, and valuable insights on cars, trucks, jets, and more. Fuel your passion for speed and discover the beauty of vehicles through Matt’s engaging stories and meticulous expertise. Join the ever-growing community of enthusiasts who find inspiration and expert advice in Matt Rex’s blog—a digital hub where the thrill of speed meets the pursuit of knowledge.